Building your dream Jeep takes time and money. In this article, Jarrett from CRAWL TV discusses how to manage both effectively in order to get you going in the right direction.
When you log into REVKIT, you can get some great ideas for your future build plans on your vehicle. The layout of the individual profiles allows you to see the nuts and bolts of what parts were combined to make your favorite setup. Not to mention, those featured, weekly builds are making you want to whip out that plastic card and go spending away, right?
Here’s the problem…
We all build our Jeeps within our budget. Jumping straight to LS Swaps, one-ton axles, ORIs, 42s, Genright Armor, and everything else that you desperately want is more than likely going to be out of reach. Plus, you’re probably still daily driving that thing and making payments on it, right? Right.
The question then, is where do you start?
Is it a budget boost and some 35s? Is it getting rid of those plastic bumpers? If you’re thinking along those lines, you’re off to a great start. I have three mottos for Jeep building. The first is, “Take it out and it’ll tell you what you need most” and then “Do as much as you possibly can yourself” and once you’re at a point where you’re ready to start dropping the dough, “buy once, cry once.” I’ll get more into that in just a minute…
This is a short version of how the CRAWL TV Jeep was built and how my wife, Grace, and I kept the growth spurt of our JKU on a shoestring budget:
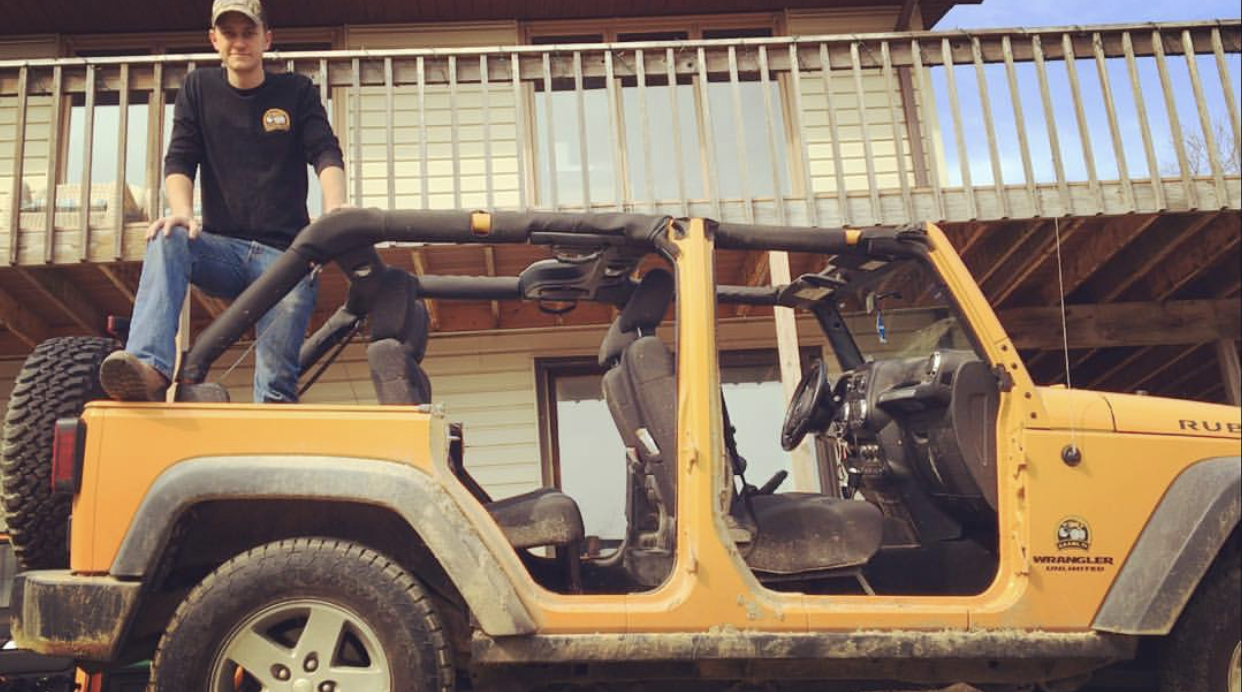
In 2016 she and I rolled and totaled out a 2012 JK Sport off of a ledge, and under water. At the time, I loved that Jeep more than any other vehicle I’d ever owned.
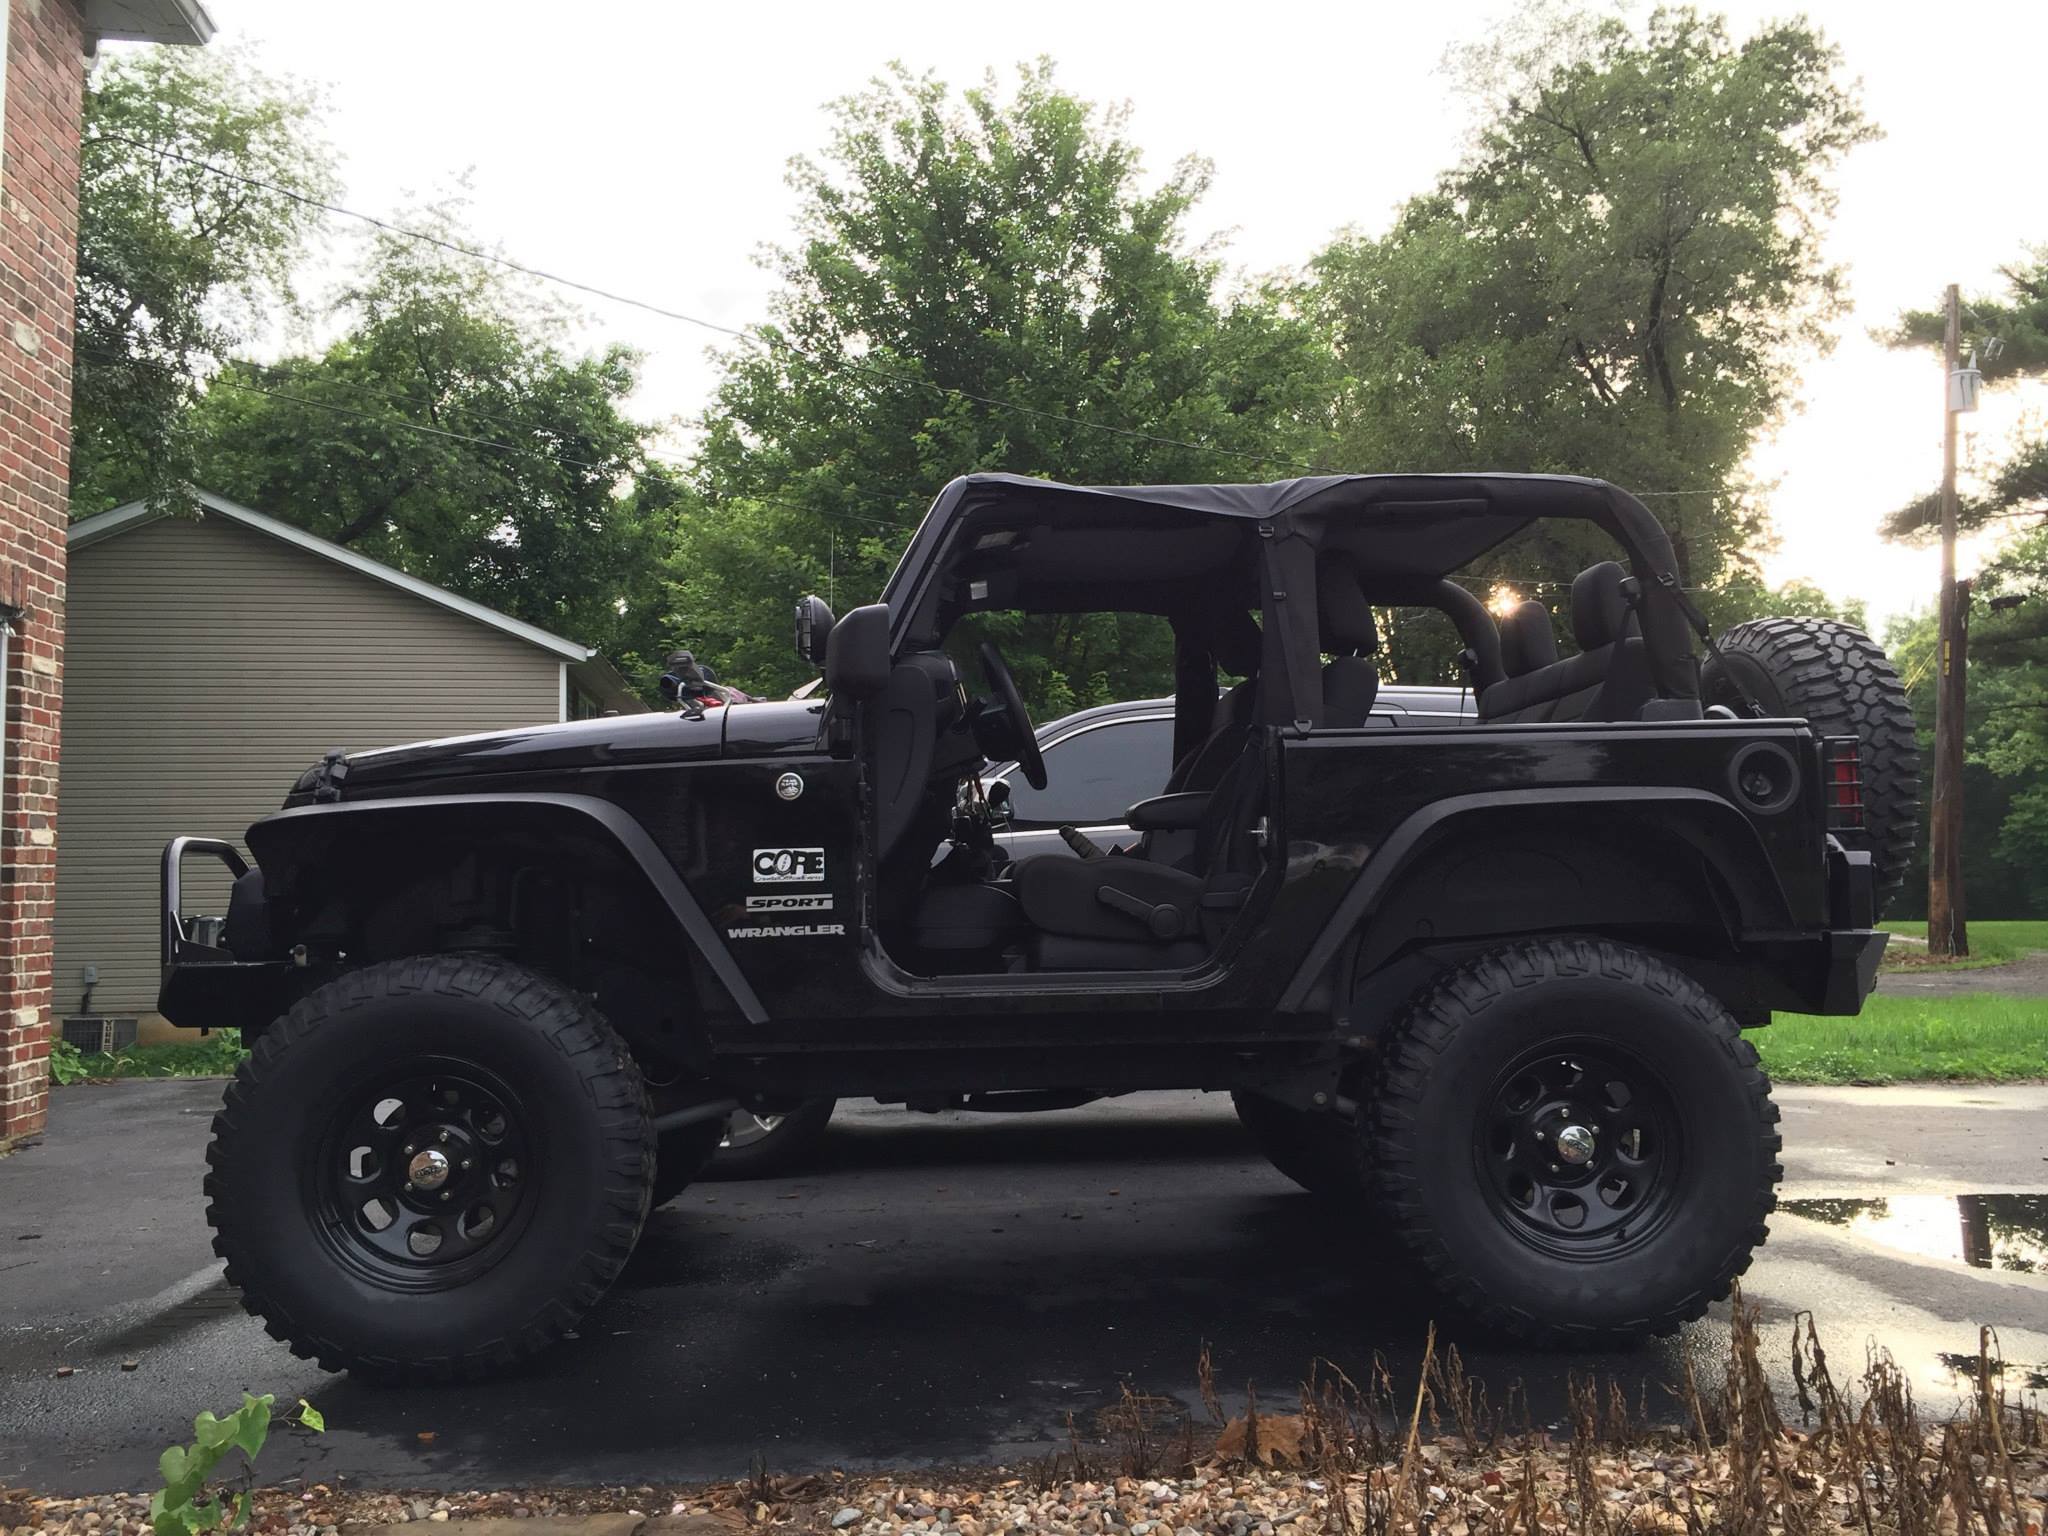
Two weeks later, we brought home a pre-owned 2012 JKU Rubicon from AZ with 50K miles on it. Right out of the box, I opted for something with a 4:1 transfer case, Dana 44s front and rear, 4.11:1 gears, factory e-lockers, and an electronic swaybar disconnect motor. These factory options were more expensive, but it was easier to roll them into monthly payments than to try and go regear it and buy lockers or an Atlas transfer case right away.
We kept the rest of the Jeep with no frills to keep the cost low, aside from automatic start and heated seats because living in the midwest was too cold to live without them. Will we get rid of most of these things down the road? Sure, but there was no major dent in our pocket books off the bat.
We were most-familiar with our JK wheelbase and open differentials, so before we spent a single dollar on modifying the JKUR, it was time to take it out to an off-road park, temp-tags and all. We were extremely impressed with what the Jeep was capable of handling completely stock, but our biggest complaints were the lack of ground clearance, the lack of communication, and those big plastic bumpers that were immediately dented in from bashing rocks.
With that information in mind, it was time to go home and start seeing what we could afford to do to make it better…
Our very first upgrade to the Jeep was communication. VHF/UHF radios, like the rugged radios system that we now use primarily, are becoming more and more popular in Jeeps these days, especially in the southwest, where a 15+ mile range may be necessary. Since we were in the midwest where most of the off-roading is in off-road parks, we took the budget-friendly route and opted for a close-range CB System.
Every part was ordered through Amazon Prime, and this was an easy, 2 hour installation that allowed us to communicate with other Jeeps in our group out on the trails, which is extremely important. This was also the very first video that we made on our new Jeep:
The next two things that we added were a 1.75” Pro-Comp budget boost and some cheapo-depot 35” Maxxis Big Horn M/Ts to get the Jeep sitting just a bit higher off the ground. The tires were on the low end, cost-wise, and had a more aggressive tread to tackle the slick, rocky terrain that we had available to us to wheel around in. For cost savings, we mounted them on some of the most inexpensive wheels we could find…Cragar soft 8 steel wheels.
At the time, I was managing an auto shop, so I brought them in after hours and mounted them up myself with Dynabeads for balancing. My mindset for that was that since they aren’t beadlocks, the tire may spin on the wheel when aired down, and I didn’t want to lose any lead lip weights when I bashed the tires on the rocks. Here’s the video of getting those new tires set up:
The Pro-Comp budget boost consisted of some rubber pucks that went above the coil springs front and rear, some extended front bump stops, and some rear sway bar link extensions. Again, we knew it wouldn’t be permanent, but it allowed just enough height to tuck some 35s under it until we made an informed decision on what our full lift kit would be.
Installing the lift took us about 4 hours with filming and Grace and I knocked it out together in a single afternoon. The kit cost us less than $150. Here’s how we jammed it out and get the new wheels and tires mounted up in the driveway: