This week, Jarrett from CRAWL TV gets into the nitty-gritty of a common but often misdiagnosed u-joint failure, sponsored by Tom Wood’s Custom Driveshafts.
Universal Joints are all over our vehicles. If you’ve been involved in the Jeep world long enough, you know how to spot a bad one, how to replace it, and how to maintain them to avoid premature wear or unexpected failures.
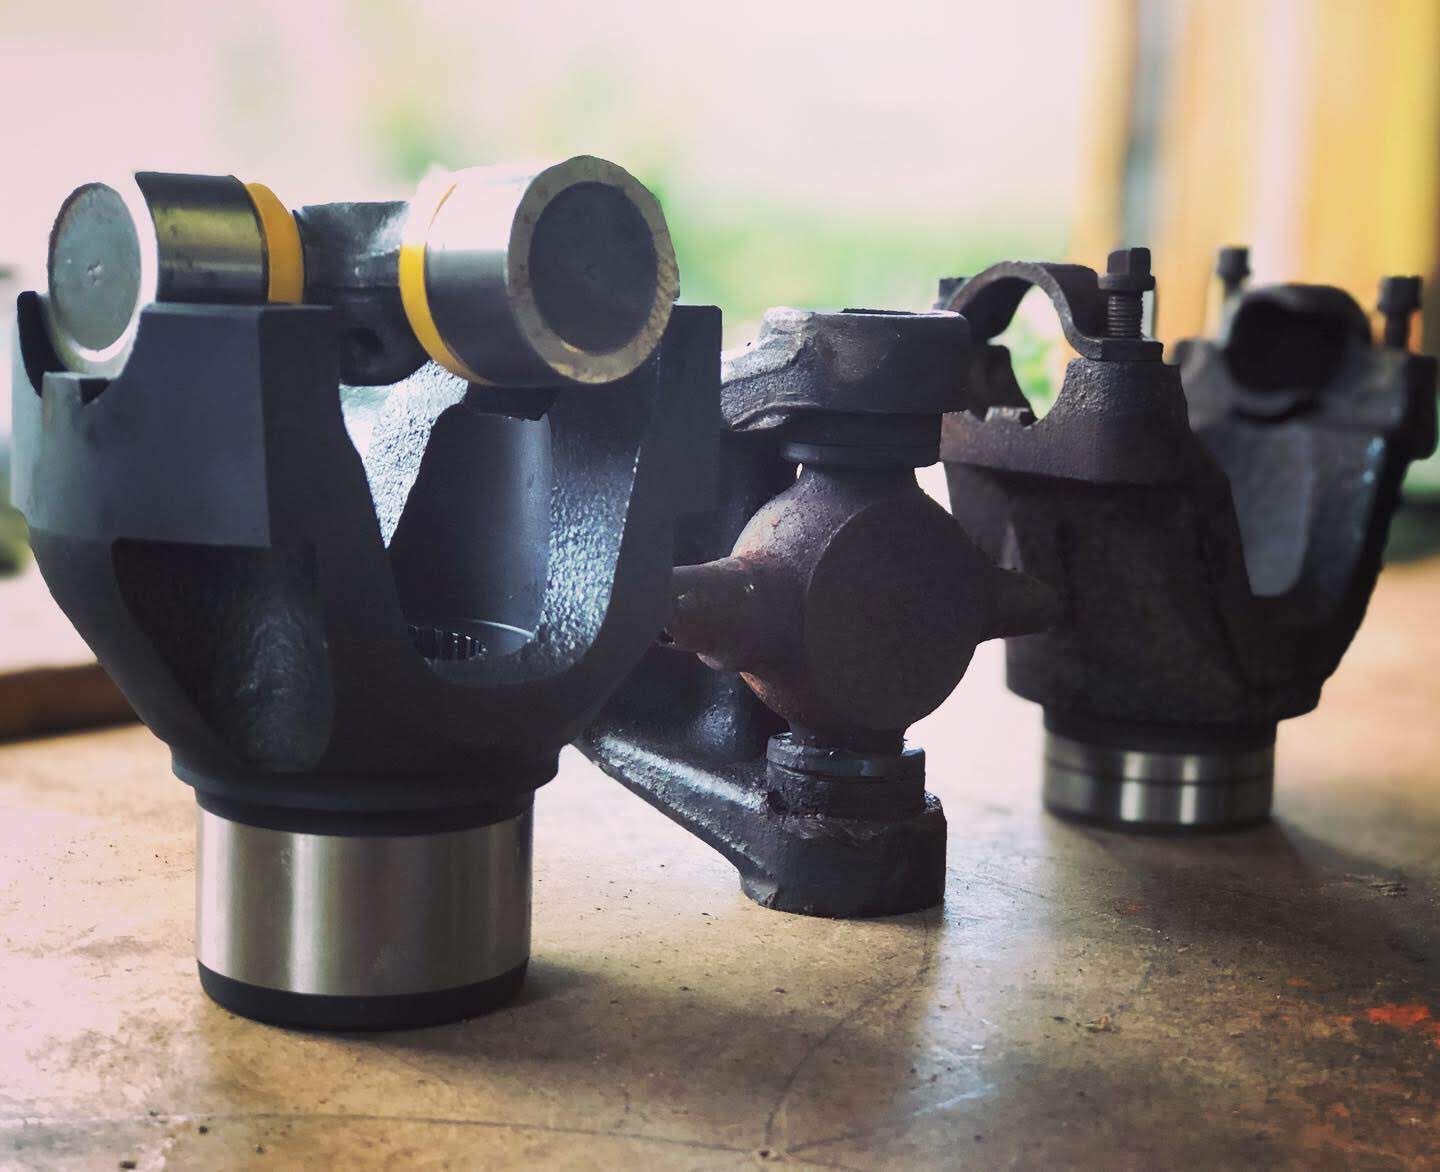
While speaking with Shawn, from Tom Wood’s Custom driveshafts, he taught me something that I never knew about u-joint failure and it seemed like a valuable enough tech lesson that I could share it on CRAWL TV to help educate others. To aid in my demonstration, he also sent out a failed u-joint on a YJ rear driveshaft that had a glaringly obvious example of the problem we were discussing.
In this quick video, I discuss in my own words what Shawn explained to be about u-joint failure in only one axis of rotation and what causes it. Sure, there are plenty of ways to blow out a universal joint on a vehicle, but this specific failure usually points toward one single part that is commonly overlooked.
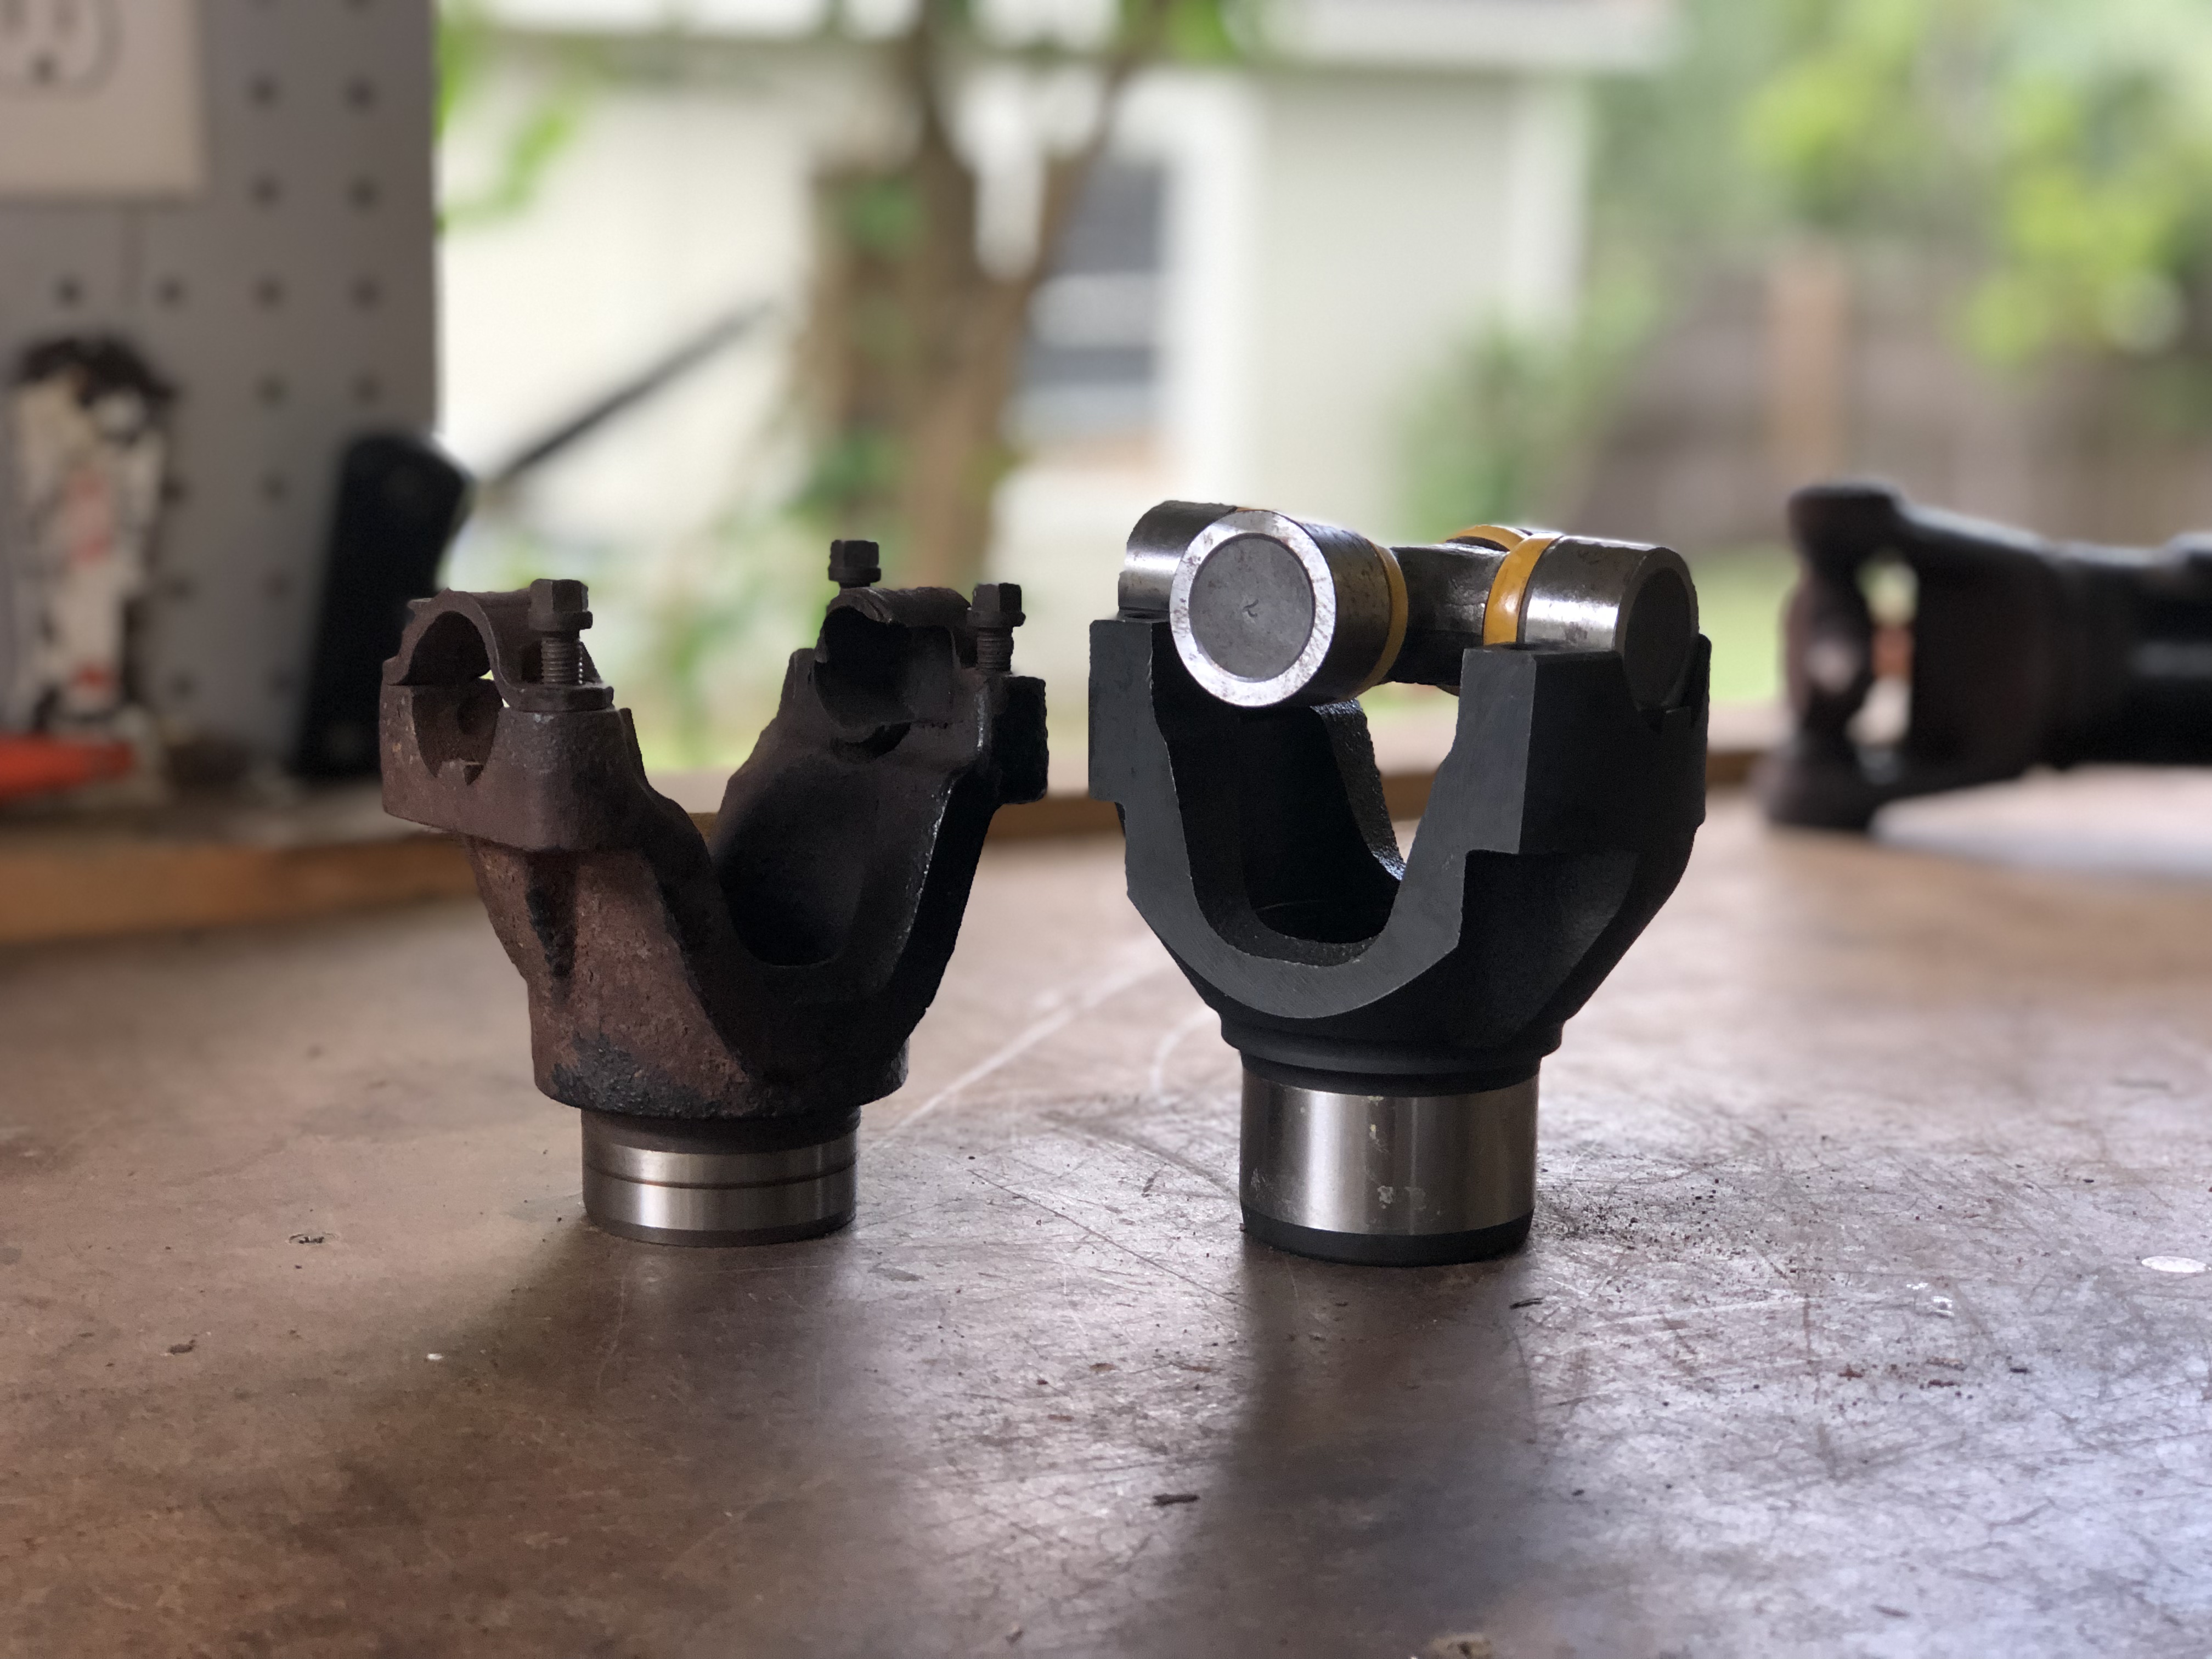
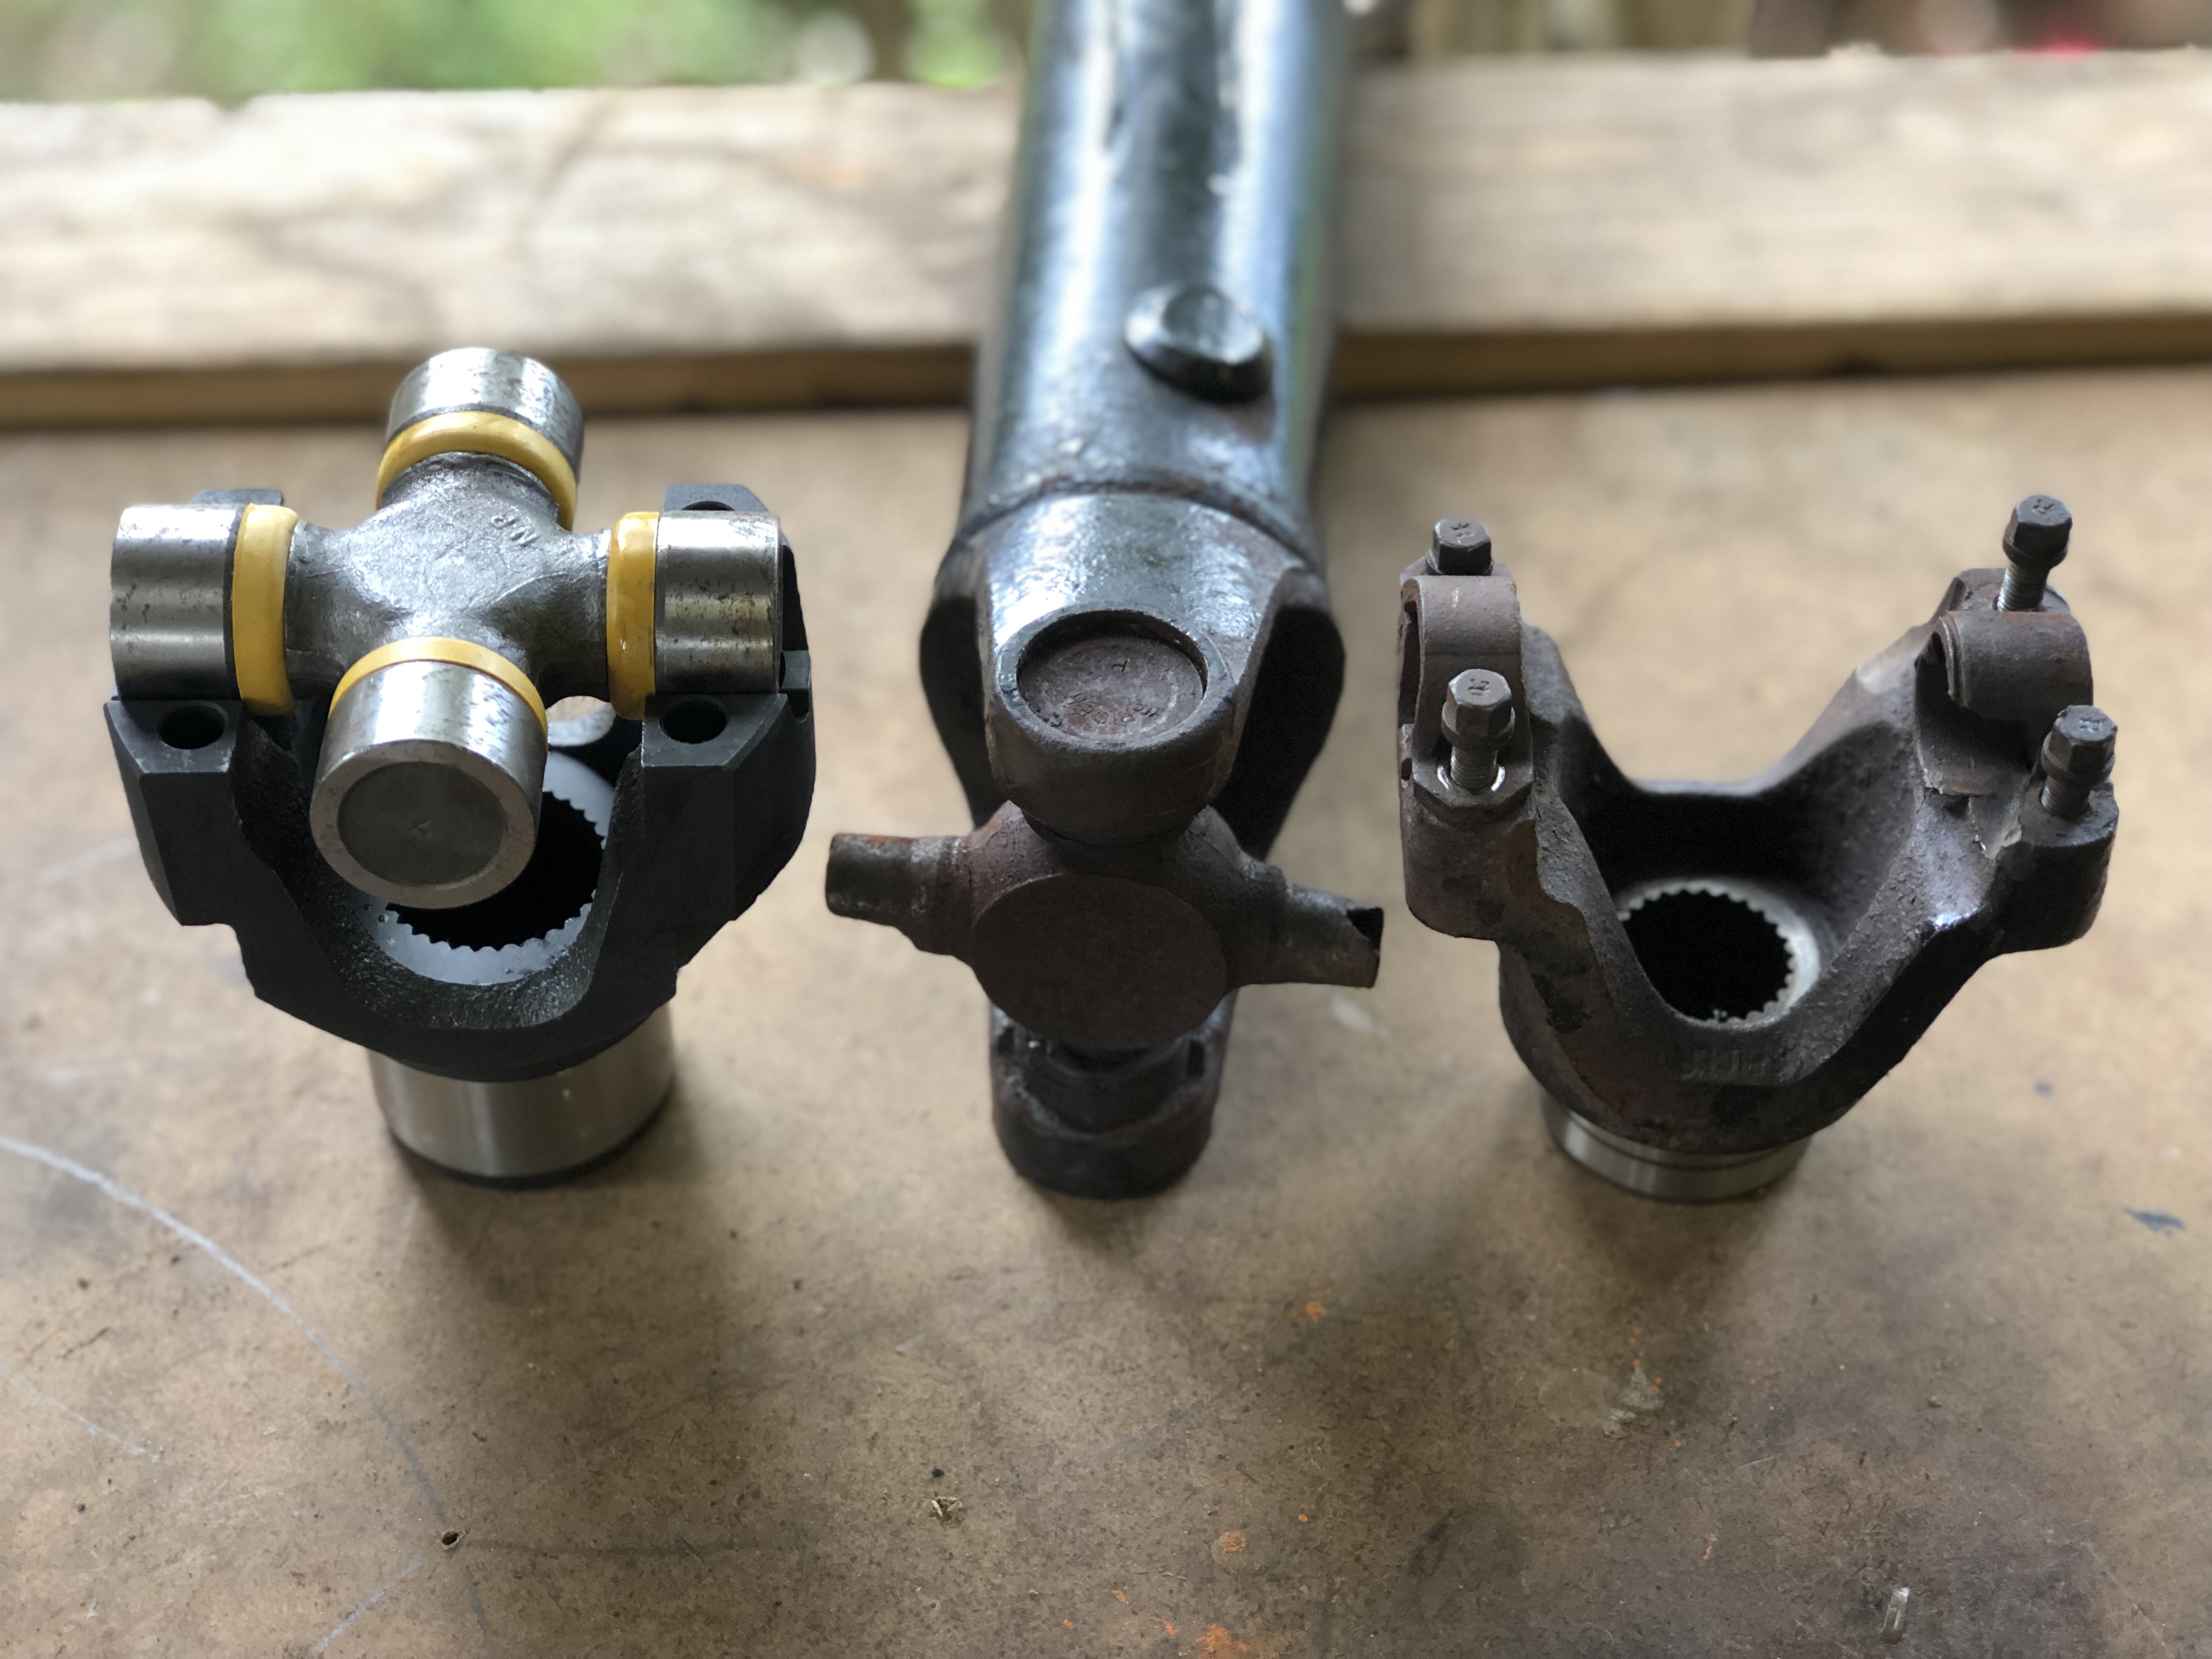
What I learned and explained is that this type of failure is not caused by a bad u-joint, but rather a bad attaching yoke. The bores or “saddles” into which a joint attach need to be very perfectly machined surfaces. Sometimes these surfaces will get damaged; this can be because of a joint breaking and damaging the yoke in the process or just because of years of hard use.