Storage solutions in Jeeps are much like Jeeps themselves, done a thousand different ways and each one is unique and everyone has their own twist on it. For years my solution was to carry a bag with random tools and if I needed something that didn’t fit, I left it home.
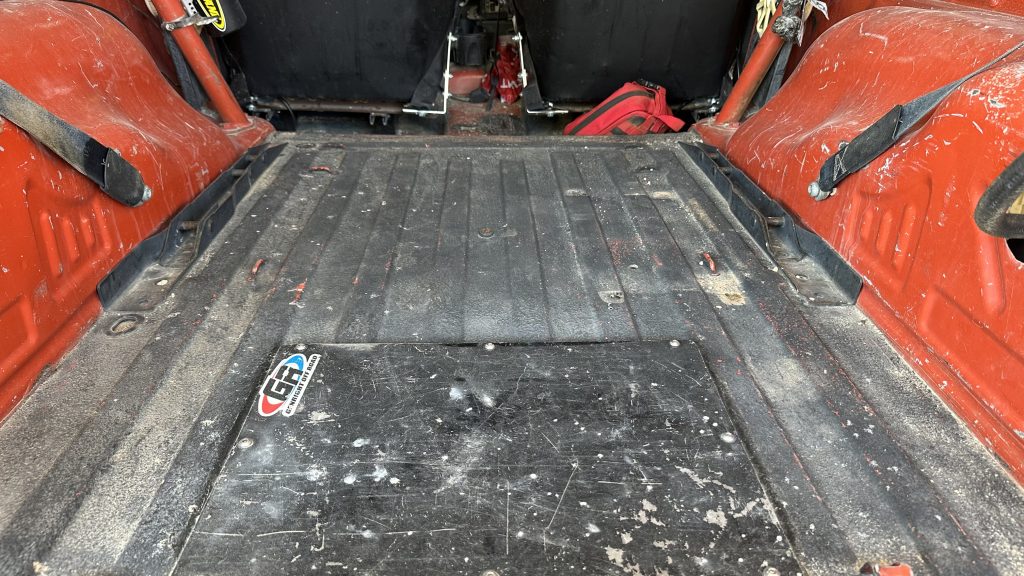
This kind of worked for years, and I relied on making sure I could get off the trail without having to actually use what I had, as there was a good chance I didn’t have what I probably needed. Fast forward many years, and on the 2022 Unlimited LJ Adventure, I was introduced to the Milwaukee Packout system. An attendee had a setup in the back of their LJ, and it was well-organized, clean, and easy to access. After the trip, I started looking into the system a little more and seeing what I wanted for my setup.
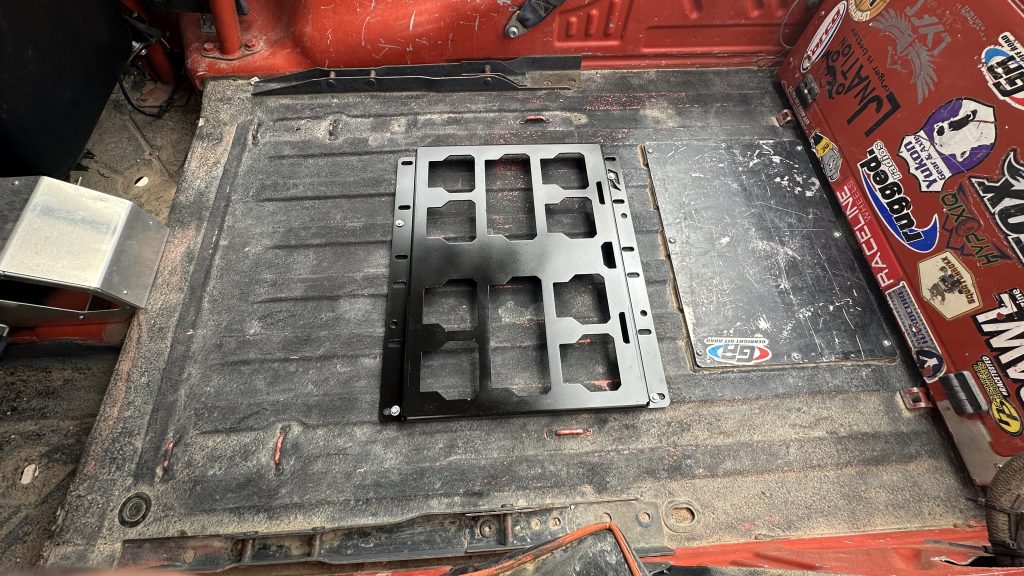
To start my own collection of Milwaukee Packout, I started with a low-profile compact and a compact toolbox—a perfect setup to start organizing my tools. After moving my tools from my home toolbox into my Jeep, I realized I needed to buy tools specific to just the Jeep.
I have always taken a minimalist approach to bringing tools and parts, and I will continue to do that. But I can be better prepared. One thing I do like is knowing your vehicle and what you may or may not need for tools. I know people who want to bring every tool in the toolbox, which adds 500 lbs to the rig. I have never seen the reason to weigh down your rig so much. But to each their own.
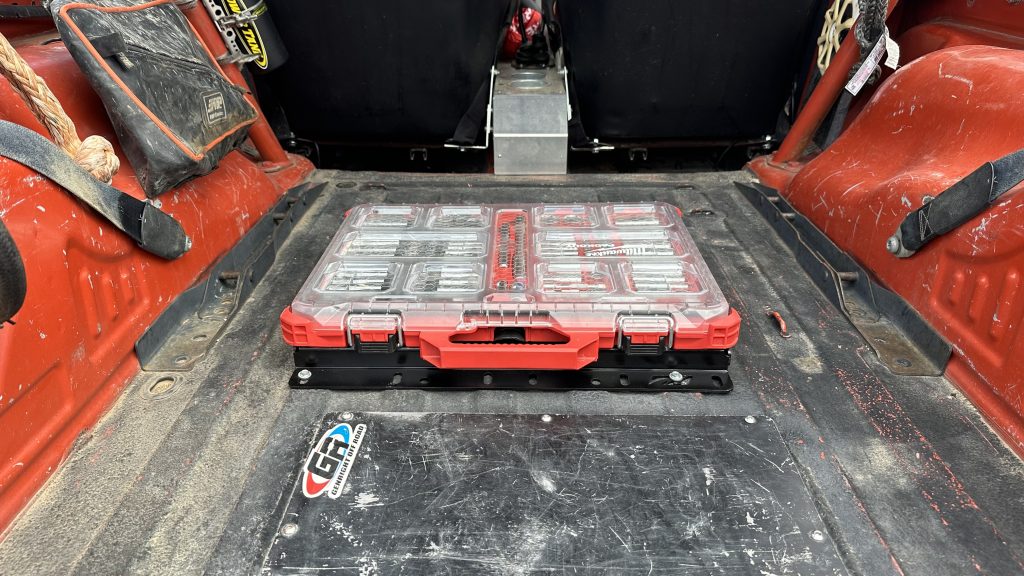
This brings me to my own journey with the Milwaukie Packout system. I bought a couple different systems to start putting tools in my Jeep so I had something if case I needed some tools. Whether I am the one needing them, or someone else, it is nice having at least some tools at your disposal. Without fail, you are usually hunting for a tool you don’t have, but I would rather have some than none.
After another amazing Christmas gift from my parents, I had another packout box to go along with my collection. I knew I needed to update the way I attached the boxes and Motobilt had started offering a solution. So I headed over to shop.revkit.com and found the one I was needing and placed the order.
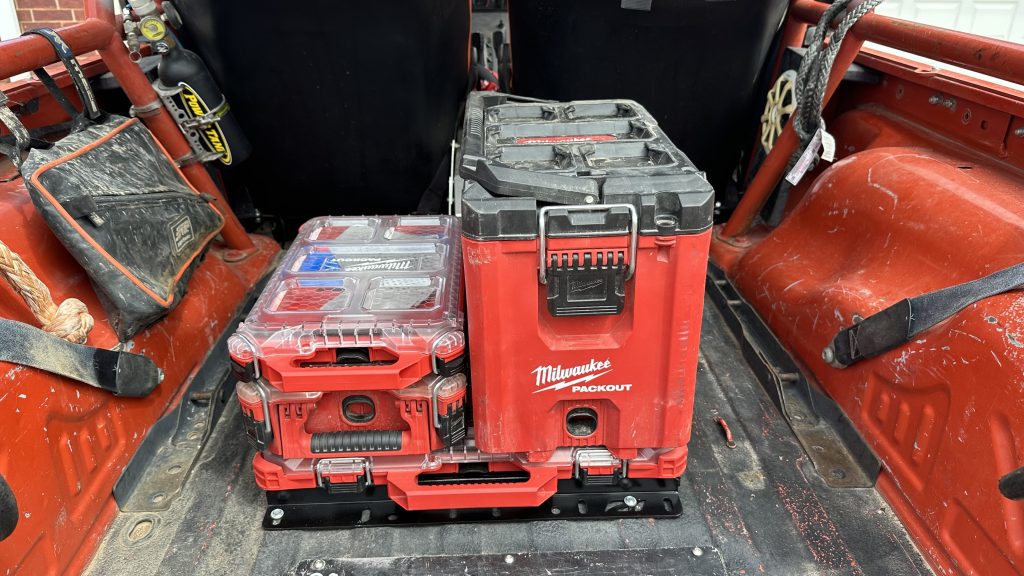
I was pleasantly surprised by how nice the mounting hardware that was supplied with the large mounting plate was. The plate came in bare aluminum, and I have never been a fan of bare aluminum, even though it seems to be the rage. So, after a quick spray with the spray can, it was time to see where I wanted to mount it in the Jeep. I had a single packout in the back of the Jeep before so I went ahead and removed that before mounting the new one.
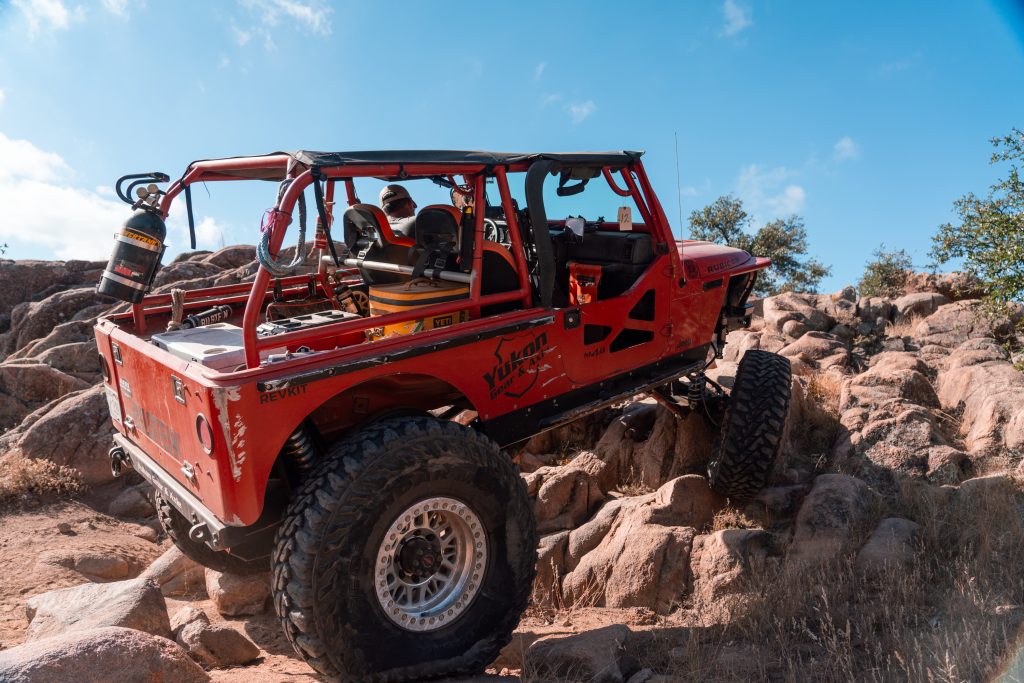
Now, when it comes to mounting any type of tool or toolbox, it all comes down to your preferences, where you want it, and how easy it might be to get to those tools. No one spot works perfectly for everyone; it is all different. Make sure you take the time to think out the location for your Milwaukee Packout toolboxes and why that location works for you. Also, think about weight distribution when you mount your tools; you don’t want to mount everything on one side unless you can counter the weight with parts or something else on the other side. Otherwise, it can unbalance your Jeep.
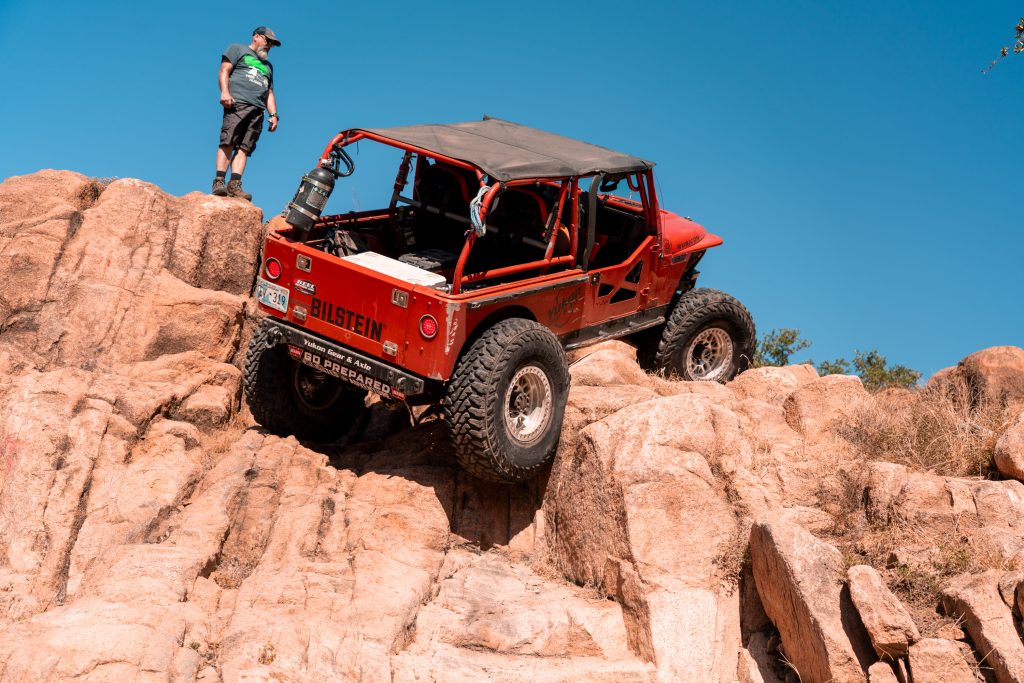
So far, I am extremely happy with my setup. The only tools I use at home and when I take the Jeep are my impacts, and that is to be expected. I do not move anything else out of my Packout system or go searching in those tools when I am home. I have a spot for the tools on a shelf, so I do not have to worry about people stealing them when I drive the Jeep around town. I do not need to keep the tools in the Jeep 24/7, and because the mounting plate and the Milwaukee Packout make it easy to remove, it takes under a minute to have everything out of my Jeep. I am sure I will expand, but for now, I am super happy with what I have.