One day, while scrolling through the Motobilt website, I stumbled upon their Heavy Duty Trailer Fender Kit and knew I had to get a set. But why did I need new trailer fenders? That goes back to about nine years ago when I bought my trailer.
When I originally bought my trailer, I only knew a little about trailers other than that I wanted larger axles and brakes on each axle. So I bought a full steel deck with 5200lb axles and brakes on each axle. My Jeep fit in between the fenders, and I had zero issues at the time. I may have heard about drive-over fenders, but it was definitely not something I was thinking about when I purchased the trailer.
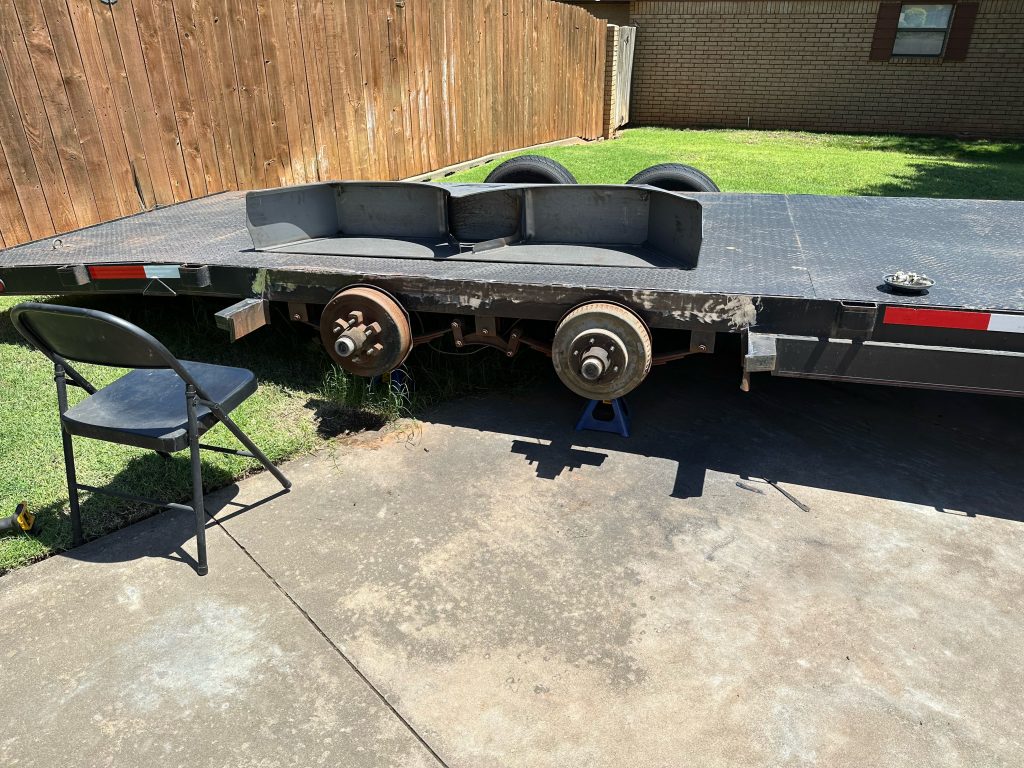
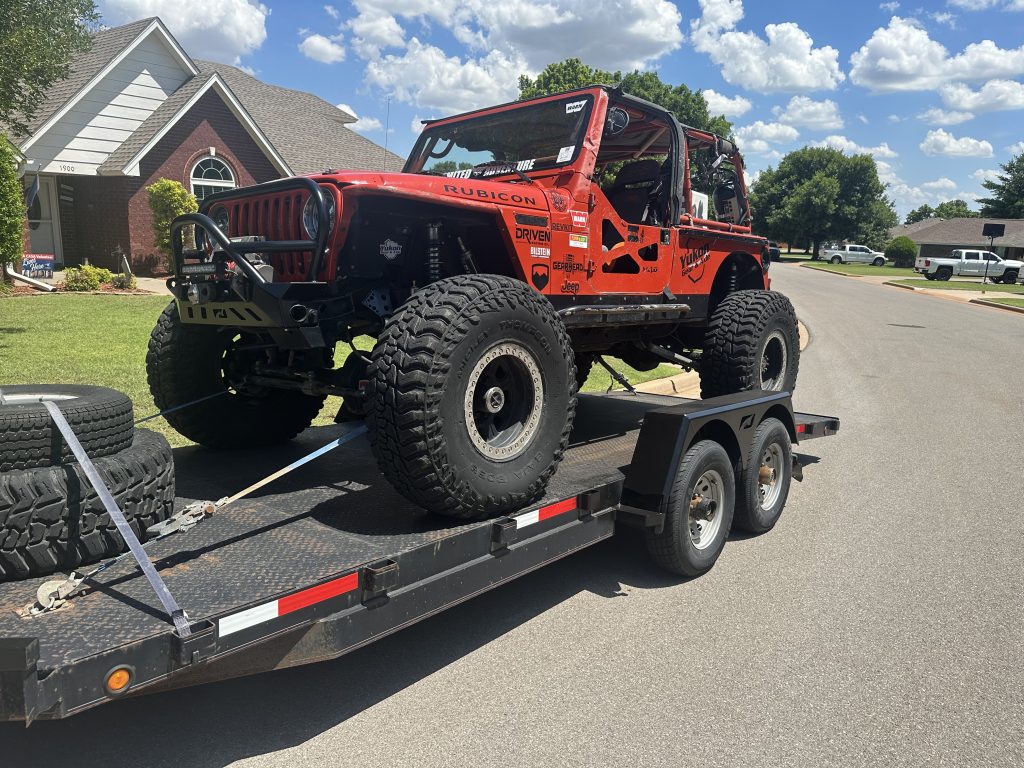
Fast forward to 2018, when I added new axles and moved up to 40s; after setting up the Jeep with the new axles and 40s, my friend Bob and I realized the Jeep was about 2 inches wider than the width between the fenders on the trailer. I knew I would have to do something down the road.
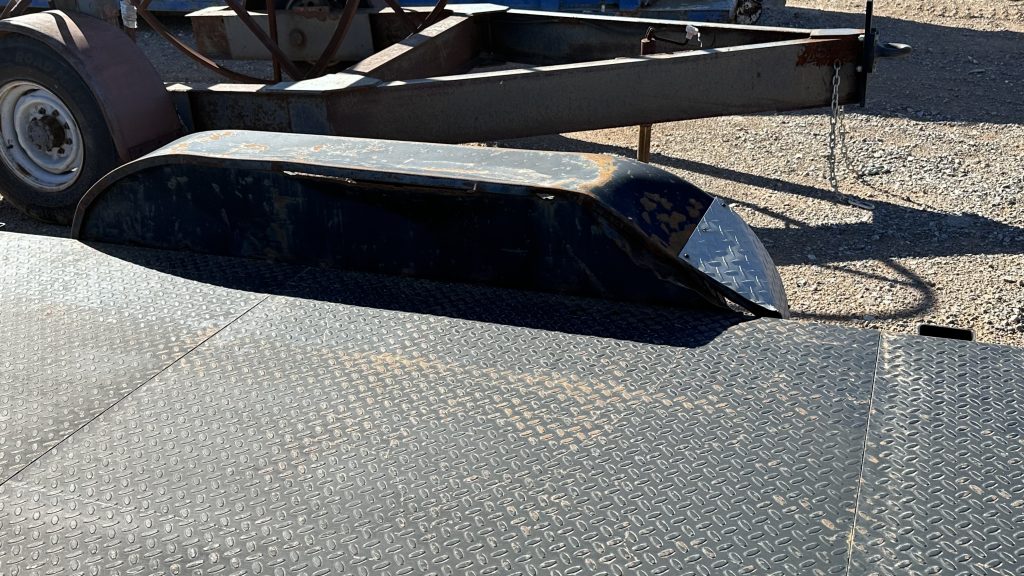
Over the years since going 40s, I have used different pieces to help drive over the stock fenders. These never worked very well, and over the years, I had slowly destroyed the fenders. I eventually destroyed the passenger side so much that I decided to cut it off completely.
Once I saw the Motobilt Heavy Duty Fender Kit, I knew I needed them and ordered them. They came quickly, as I had ordered the bumper simultaneously, and it came via freight. Once they came in, the first step was to call Ditch Digger to warm up the welder and get to burning.
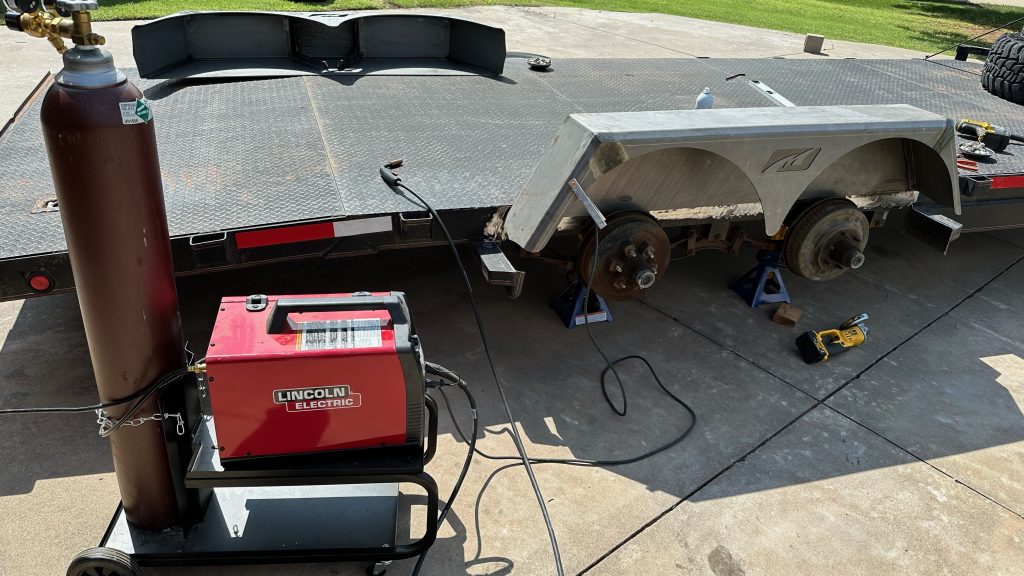
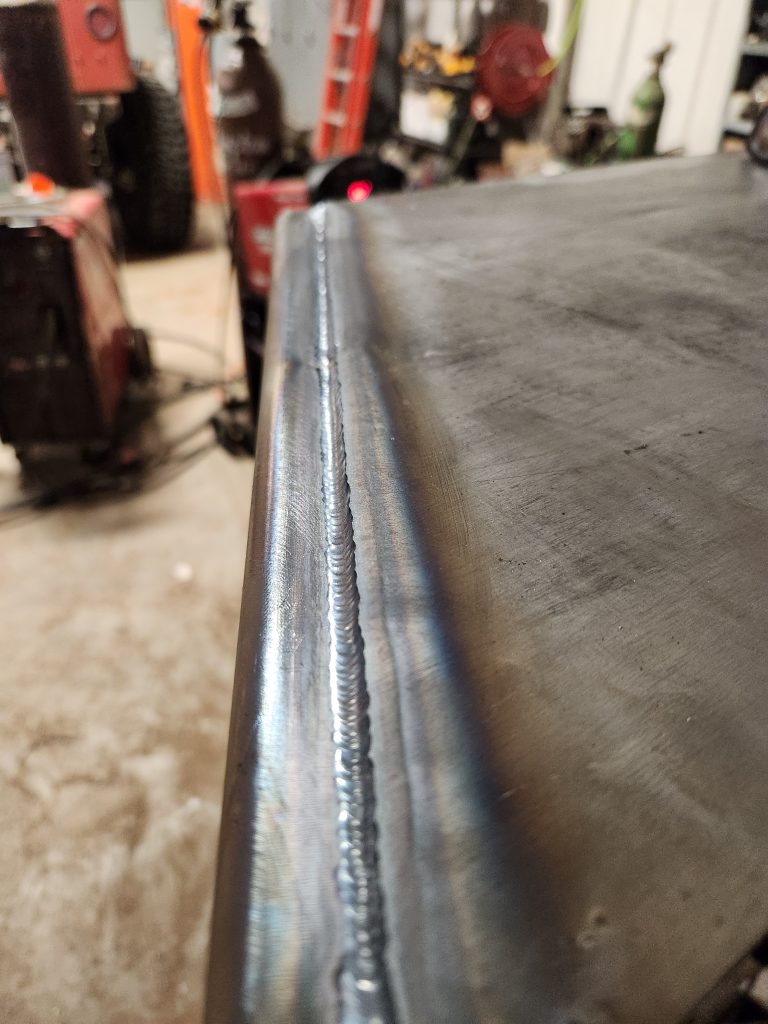
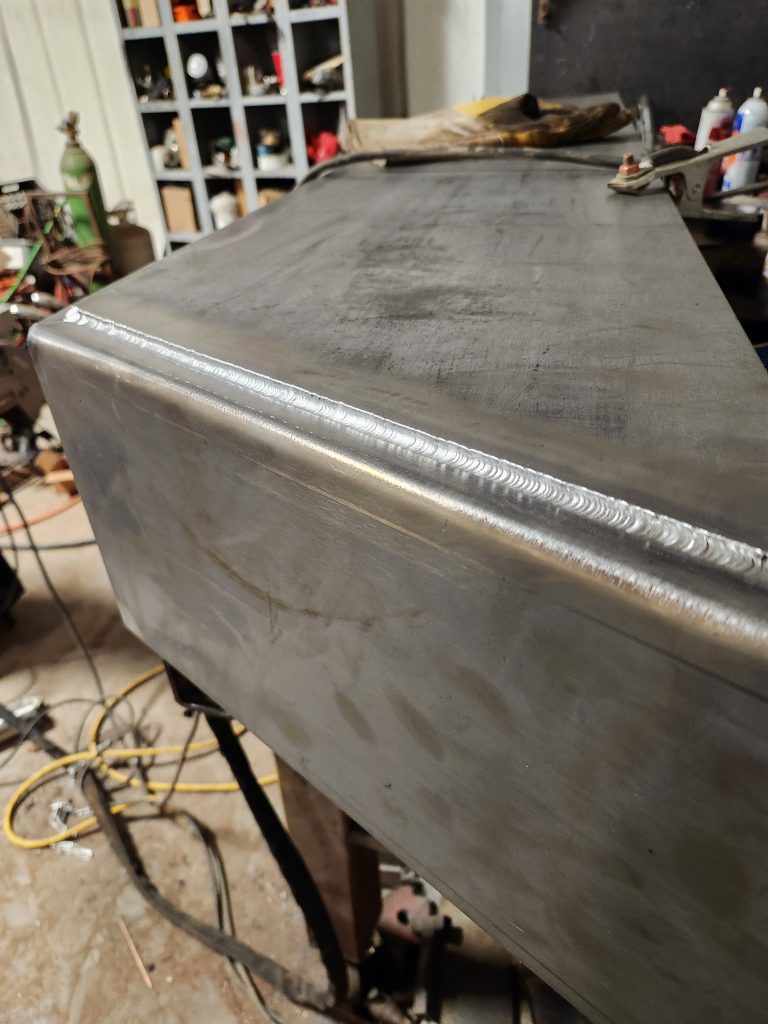
I dropped off the fender kit and let Trevor weld up the fender kit and get them ready for me to get them installed on the trailer. Ditch Digger loves firing up his Tig welder, and he got the pieces welded together. Now it was time to clean up the trailer and get it ready to weld the fenders to the trailer.
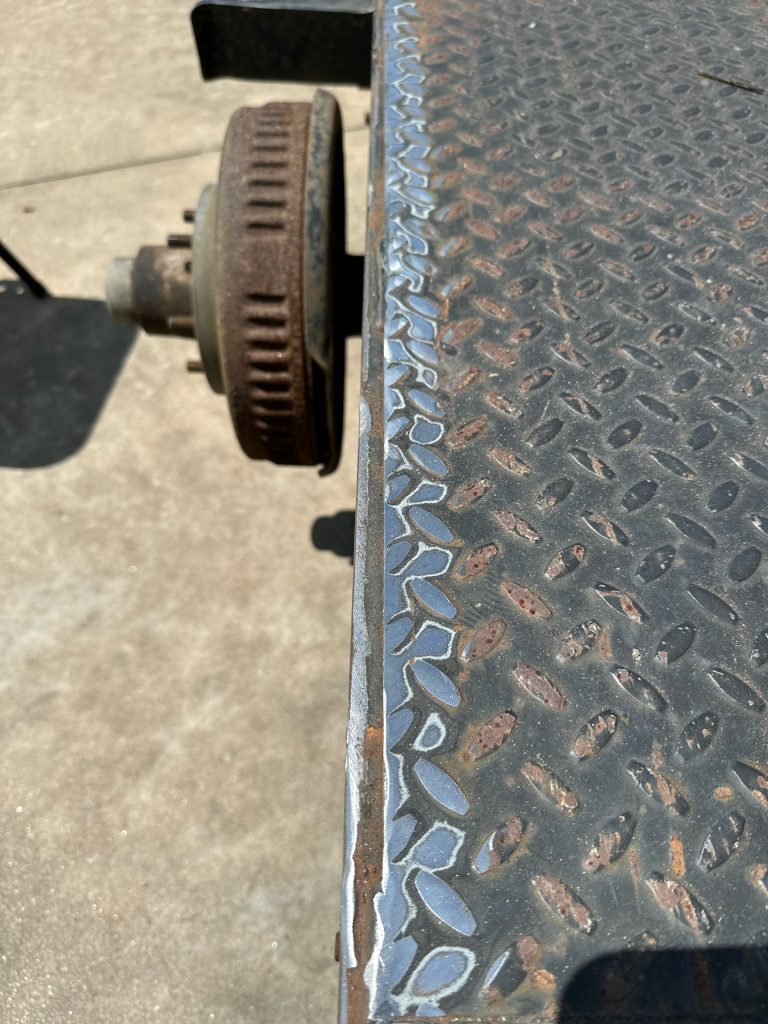
The old fenders were fairly easy to remove, as I had destroyed them over the years. The hardest part was getting all the small welds cut off and grinding down pieces to make the fender as flat and clean as possible to create a good welding surface.
Now that the fenders are welded together, they are relatively heavy, so moving them around yourself is a pain in the ass. I did most of it by myself, but I recommend having an extra hand to make it easier to move around and to get the fenders set up easier.
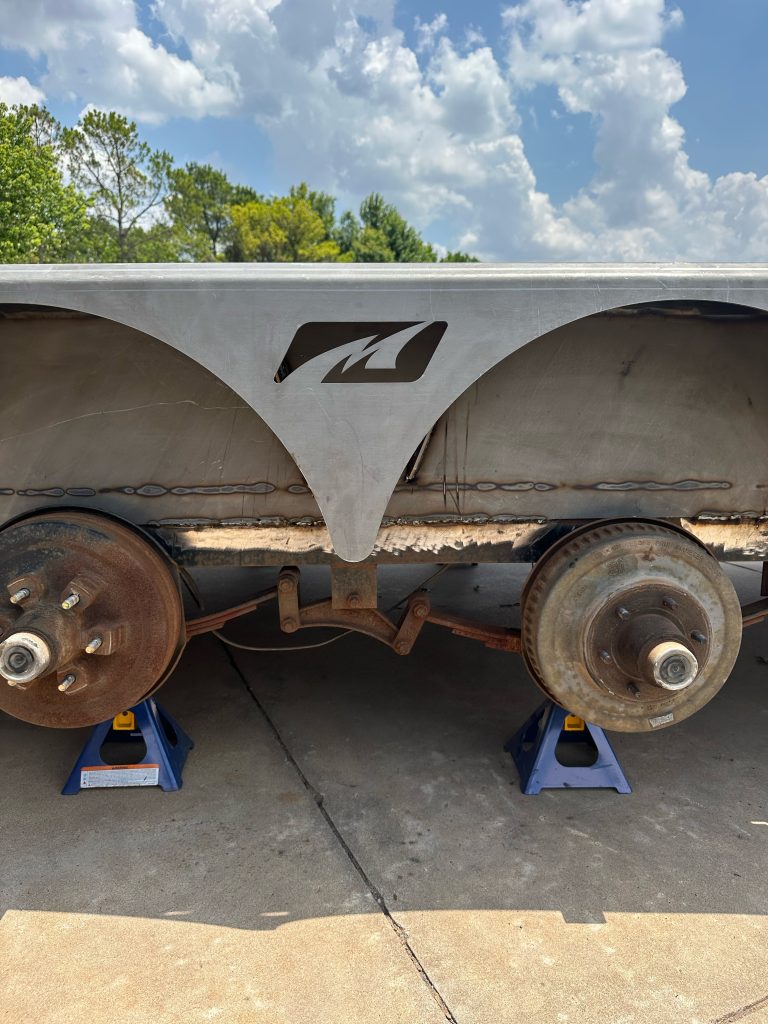
I used a couple of items to set the fenders up where I wanted them to, but massive clamps are the easiest way to get them in the correct position. One thing I noticed right away when I was positioning the fender was the middle piece with the Motobilt fender lined up perfectly with the center bolt connecting the two leaf springs. This made it easier to get lined up. I just had to test how high I needed to ensure the tires cleared.
Fenders are in the right location and time to start tac welding and double-check everything. I checked how level it was going in one direction but not the other, so they are tilted in just a little bit, but overall they are where they needed to be.
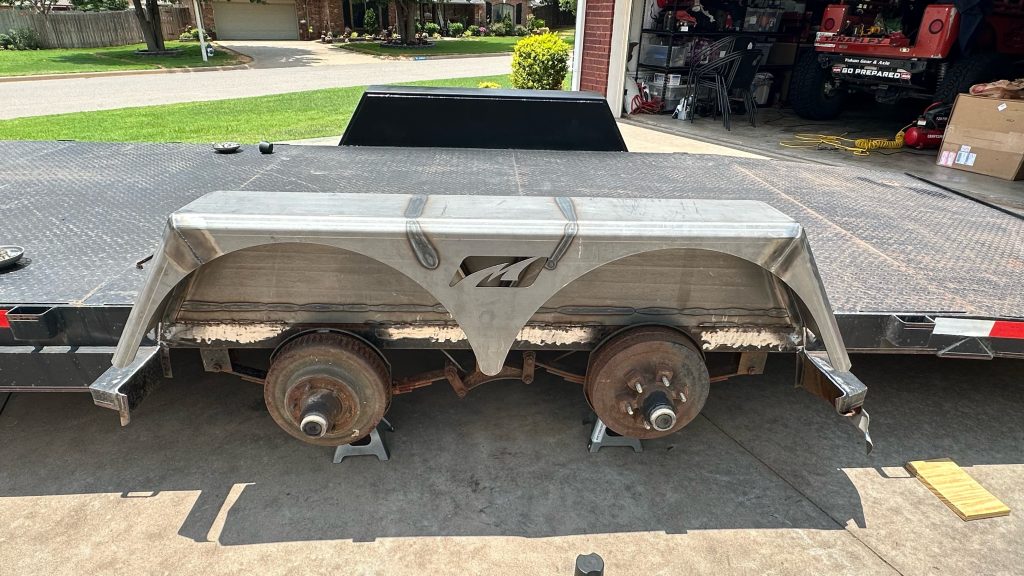
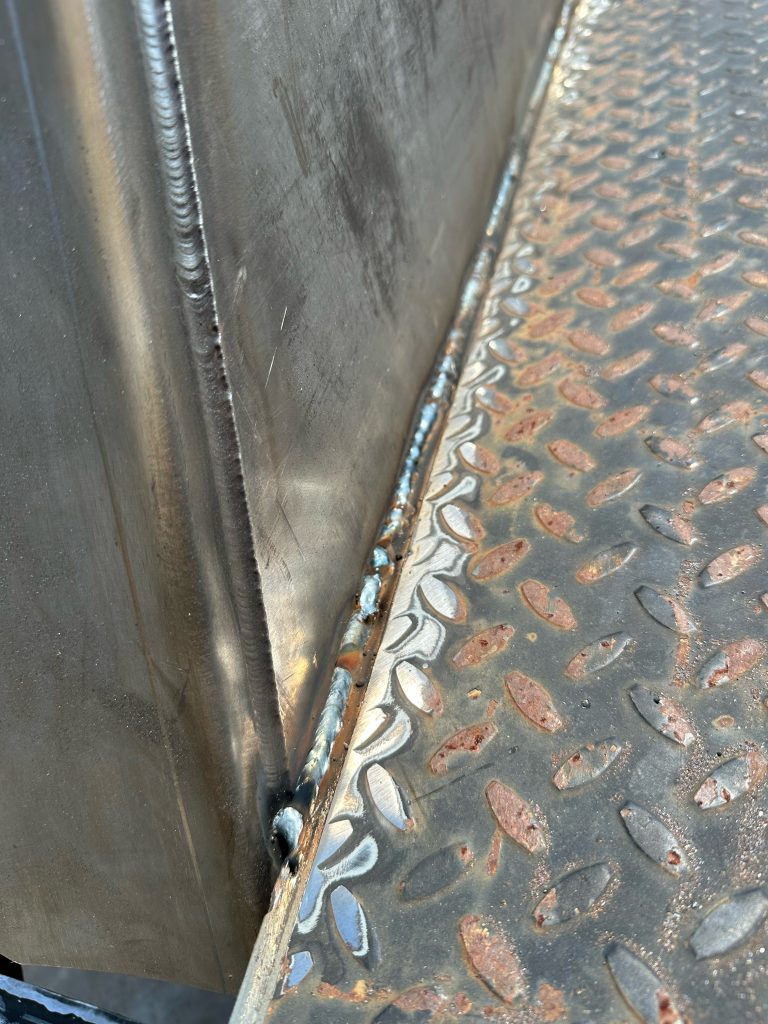
I could be a better welder, but I have been learning. After talking with Trevor and Bob, I finally found a good setting on the welder to get the fenders welded up. I did the passenger side first as my practice side, and once it was done, I moved on to the driver’s side. Looking at most trailer fenders, you will notice that they do not weld the whole piece to the trailer. They do short passes, but that is not what I wanted to do with the Motobilt kit. I went ahead and welded the whole side on the top and the bottom to ensure nothing would ever come apart. I know it is overkill, but it was worth it to me.
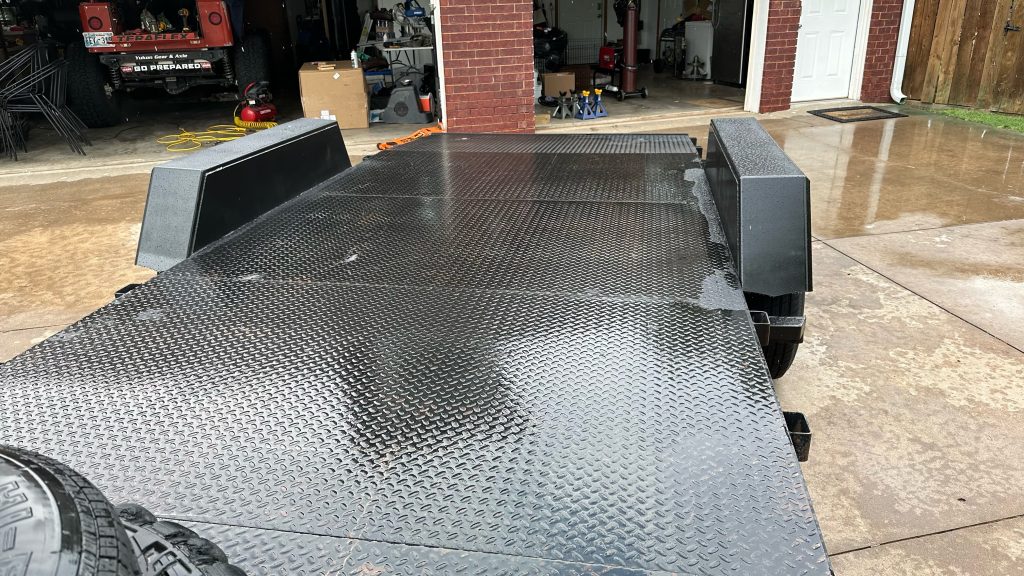
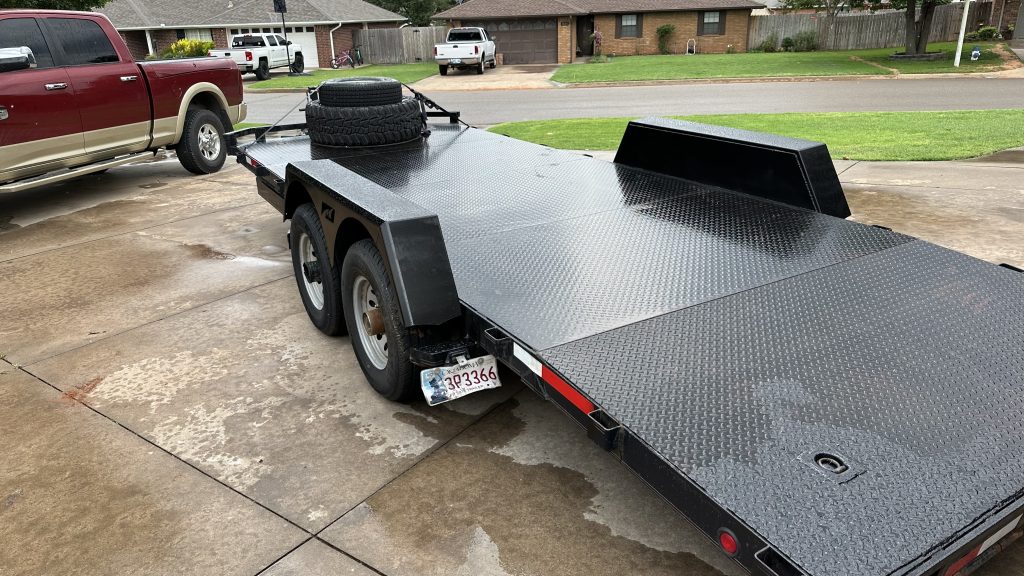
Now that I had each side welded up, it was time for paint. After doing some cleaning of the fenders, it was time to start. Always clean the metal before you begin painting to make sure it is a good clean surface for the paint to stick. Knowing that I would be driving over the fenders every time, I went ahead and just used spray paint. Maybe one day, I will get the whole trailer repainted by a body shop. But for now, the fenders look great, and I can’t wait to use them.
If you are on the fence, go ahead and jump off and buy them. Your trailer will thank you. Remember, It’s Not Bilt Until It’s Motobilt.